
The Framer landscape for audio components shifted significantly with the "Workshop" update on May 21, 2025. Creating a fully interactive audio player is now more intuitive and component-driven than ever.
This guide covers both the modern, recommended method using Workshop and the legacy method for older projects or advanced custom builds. Let's get you started! 💡
The Modern Method: Using Framer's Workshop (Recommended)
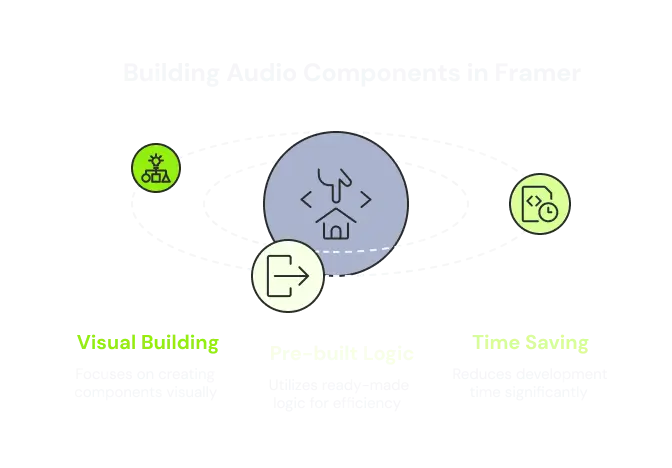
For any new project, Framer's integrated Workshop is the fastest and most powerful way to build audio components. It prioritizes visual building and pre-built logic, saving you significant time.
Open the Workshop and Find an Asset
Navigate to the Assets panel in Framer and select Workshop. Here you can search the community library for pre-built audio player components.
Search for "Audio Player," "Sound," or "Music Player" and install a highly-rated option directly into your project.
Customize the Component Visually
Drag the new Audio Player component onto your canvas.
Using the properties panel on the right, you can customize its appearance.
Most Workshop components come with properties for changing colors, sizes, fonts, and showing/hiding elements like sliders or time displays without writing any code.
Create Variants for Play/Pause States
Select your audio component and create a new Variant.
Name one "Play" and the other "Pause."
In the "Pause" variant, you can visually change the play icon to a pause icon. This allows you to create different visual states managed by the component's logic.
Add Interactivity
With the component selected, go to the Interactions panel.
Add an interaction that says "On Click" → "Change Variant" → "Next."
This will automatically toggle between your "Play" and "Pause" variants, and the component's built-in code will handle the audio playback. It's that simple!
Use Code Overrides for Advanced Logic (Optional)
If the Workshop component doesn't do exactly what you need, you can attach a Code Override.
This allows you to write React/TypeScript to access the component's underlying logic, such as triggering an animation on track end or fetching a track URL from a CMS.
When picking a JS audio library for Code Overrides, see Tone.js vs Howler.js for the head-to-head — Howler wins for playback and audio sprites, Tone.js for synthesis and reactive scheduling.
The Legacy/Manual Method (Pre-Workshop Era)
For older Framer projects or if you need to build a highly specific audio component from scratch without using the Workshop, you can use the classic module-based approach.

Set Up Your Project
If you don't have Framer installed, you can download it from the Framer website.
The Framer Audio module allows you to create audio players with play buttons, volume sliders, and more. You can find the module and its documentation here.
Ensure you have a local Framer project set up. This method relies on the classic file structure where you can manage a
/modulesfolder.
Find a Legacy Audio Module
You'll need a legacy audio module file. These were often shared as .coffee or .js files in repositories. Download the module file (e.g., audio.js) and place it in your project's /modules folder.
Include the Module in Your Project
In your project's main code file (e.g.,
app.js), you need to import the module's functionality.Include the module in your project by adding the following JavaScript code:
Define Layer States for Play/Pause
Create basic states for play and pause. You can name these layers play and pause and make them targetable in code.
You can design them with different icons.
Example:
Wrap the Audio Object Around Your Layers
Instantiate the audio object, passing in your layers and the audio file path. This links the module's logic to your visual elements.
Wrap the audio object around these layers and store it in a variable:
Add Sliders Manually
To add volume or progress sliders, you'll need to use a SliderComponent or a similar class, often included with the audio module.
You define it in code and link it to your audio instance:
Connect Sliders to Audio Properties
Use the module's methods to link your slider's value to the audio's progress and volume. This requires listening for change events on the slider:
Display Time with Event Listeners
To show the current time, listen for the audio object's "
change:time" event and update a text layer accordingly.:
Additional Tips for the Legacy Method
Custom Styling: All styling must be done by manipulating the layer properties in your code.
Event Listeners: This method relies heavily on event listeners (.on()) to handle all user interactions and state changes.
Testing: Manual testing across browsers is crucial, as compatibility is not guaranteed like it is with modern Framer components.
Documentation: Refer to the Framer documentation for more detailed information and advanced features.
TL ; DR
For new projects, use Framer's Workshop to find and customize a pre-built Audio Player component. It's faster, more reliable, and integrates perfectly with Framer's visual editing tools.
For legacy projects or deep, from-scratch customization, you can still use the manual method by importing a module and connecting layers, states, and events through code.

By understanding both methods, you can create a fully functional and visually appealing audio component in any Framer project. Happy coding! 🎧
Frequently asked questions
How do I add an audio player in Framer?
The fastest way in 2026 is Framer's Workshop: open the Assets panel, search "Audio Player," install a community component, drag it onto the canvas, and style it in the properties panel — no code required.
Can I build an audio component in Framer without code?
Yes. Workshop components ship with built-in playback logic. Create Play and Pause variants, add an On Click → Change Variant → Next interaction, and the component handles the audio for you.
What is Framer's Workshop?
Workshop is Framer's integrated component environment, launched in May 2025. It lets you find, install, and customise pre-built interactive components — including audio players — visually, with optional code overrides for advanced logic.
How do I make a play/pause button in Framer?
Create two variants of your audio component named Play and Pause, swap the icon in each, then wire an On Click → Change Variant → Next interaction so a single tap toggles state and triggers playback.
Which audio library should I use for a Framer code override?
Use Howler.js for reliable file playback and sprites; reach for Tone.js only when you need synthesis or beat-synced scheduling.
If you have any specific questions or need further assistance, feel free to ask us!


