
Reaper is primarily known as a DAW for audio, but it handles video editing surprisingly well. You can import an MP4, MOV, or AVI file directly into the timeline, add and sync audio tracks, edit the video, and render a final file — all without leaving Reaper.
Here's a step-by-step guide to adding video in Reaper, from import to export.
Step 1. Install VLC Player (required for video playback)
Reaper uses VLC for video playback. Without it, you can import the video file but won't see the footage. Download VLC from videolan.org and install it before opening Reaper.
Step 2. Create a new project
Launch Reaper and go to File > New Project. Save it immediately to a dedicated folder — Reaper stores relative file paths, so keeping your video and project file in the same directory avoids broken links.
Step 3. Import the video file into Reaper (MP4, MOV, AVI)
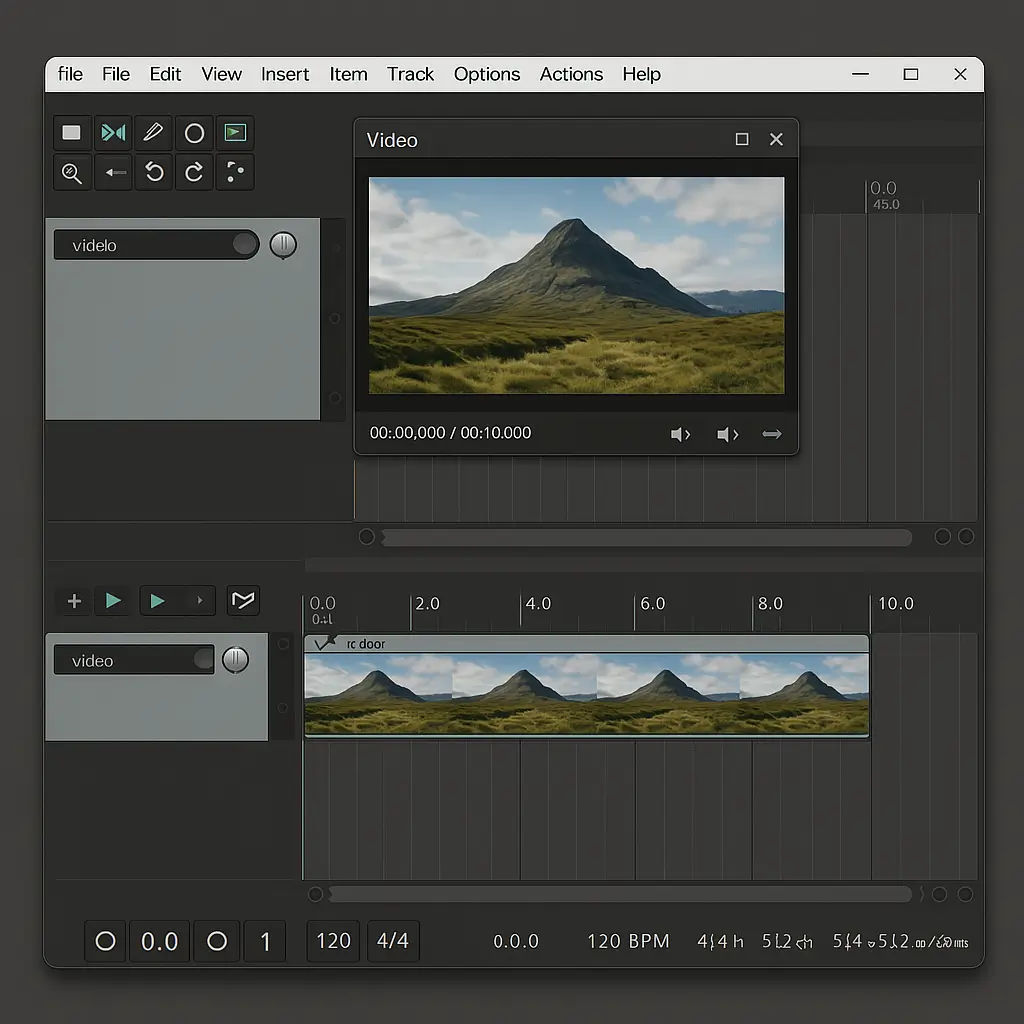
Drag and drop your video file directly onto the Reaper timeline. Alternatively, go to Insert > Media File and select your video. Reaper supports MP4, MOV, AVI, and most common video formats.
The video track appears in the timeline with a thumbnail strip. A floating video preview window opens automatically — if it doesn't, go to View > Video Window.
Step 4. Add audio to the video
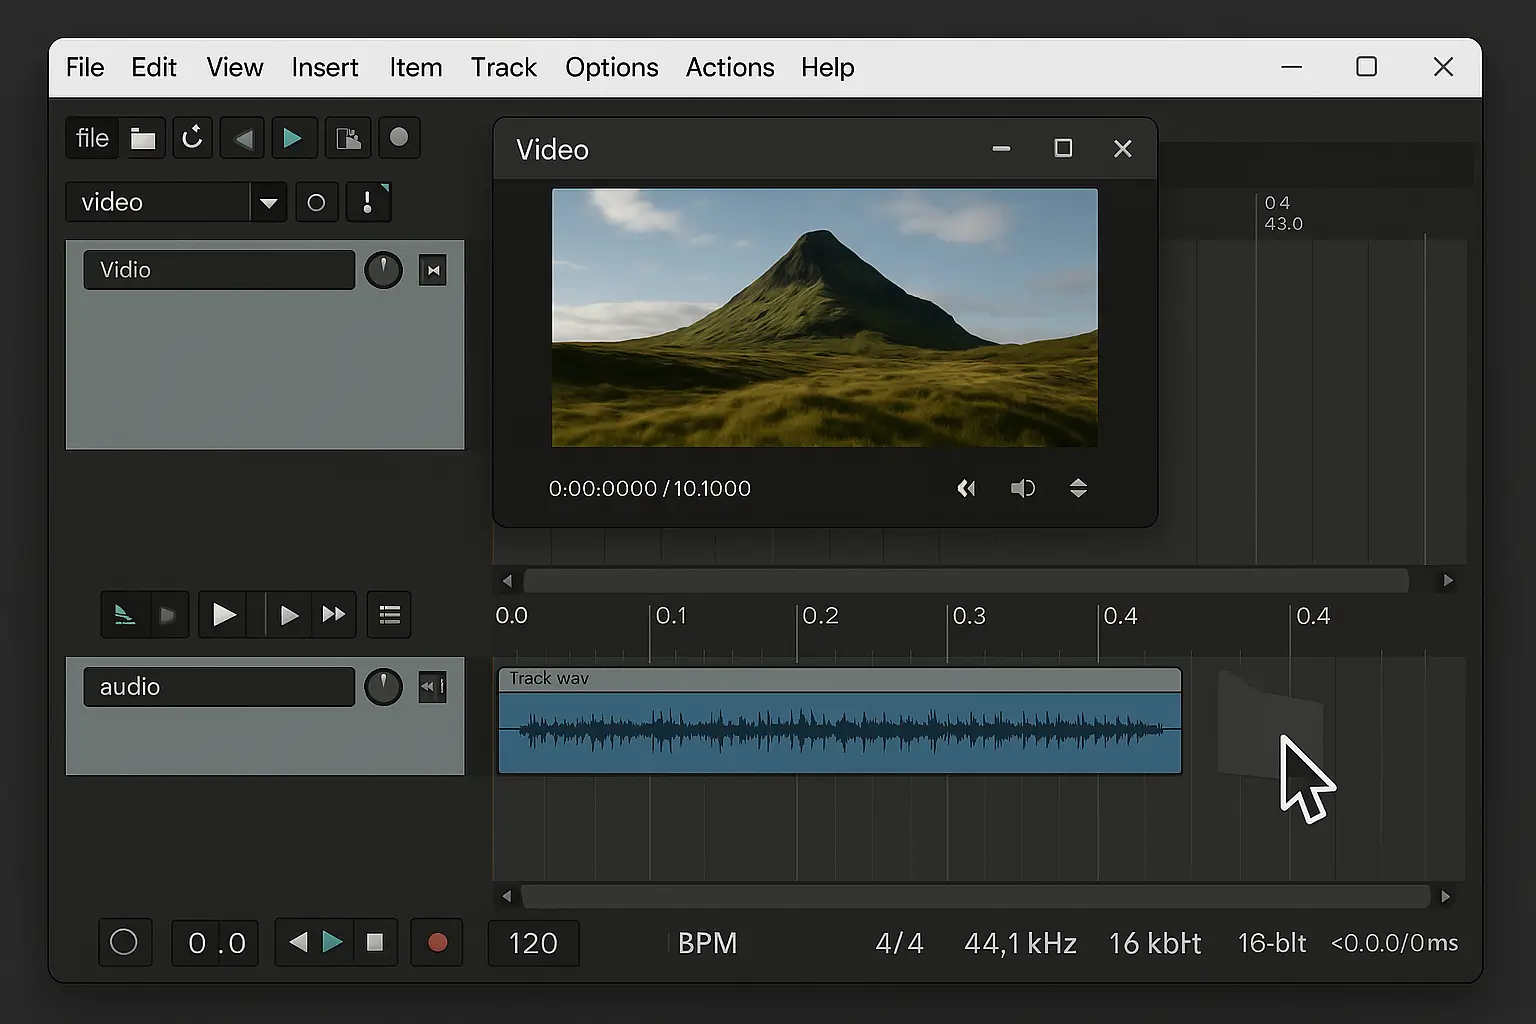
Drag your audio file onto a new track below the video track. Reaper automatically creates a new track for it. If you're adding multiple audio files (music, voiceover, sound effects), repeat for each file — each gets its own track.
Step 5. Sync audio and video
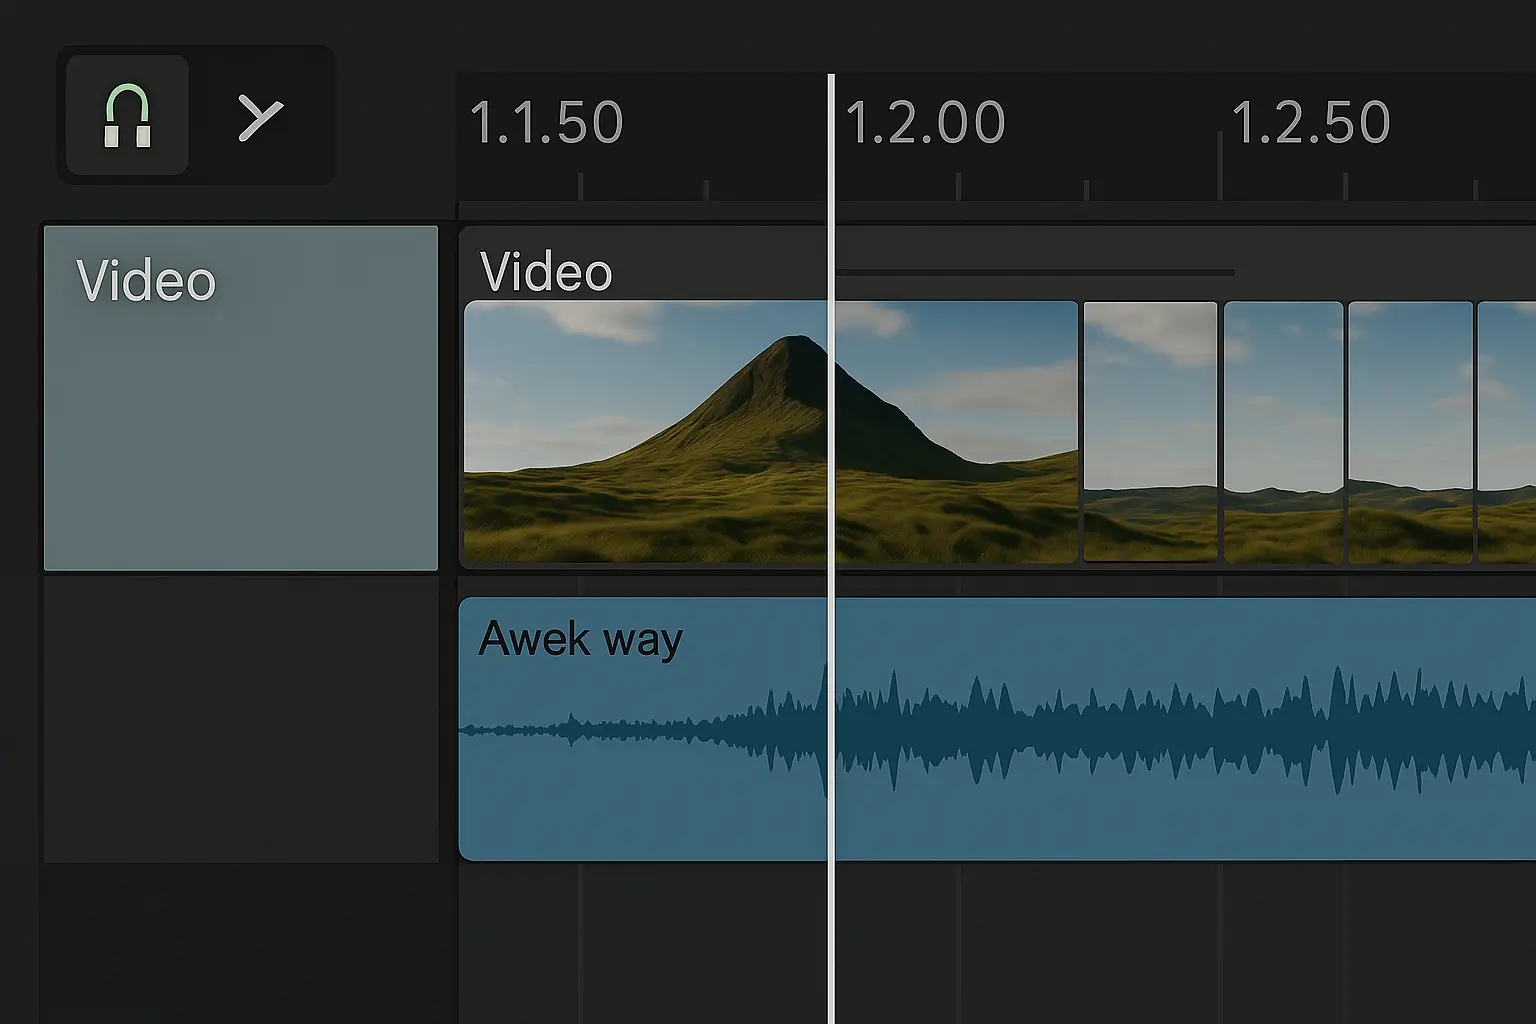
Zoom in on the timeline (scroll wheel) for precise alignment. Snap is enabled by default — it locks audio to frame boundaries, which helps when syncing dialogue or music to a specific moment. Use the video preview window to verify sync while playing back.
Step 6. Edit the video in Reaper
Reaper's video editing capabilities are functional for basic cuts and assembly:
Cut/Split: Select the item and press S to split at the playhead position.
Trim: Drag the edges of a clip to shorten it.
Delete a section: Split at two points, select the middle segment, and press Delete.
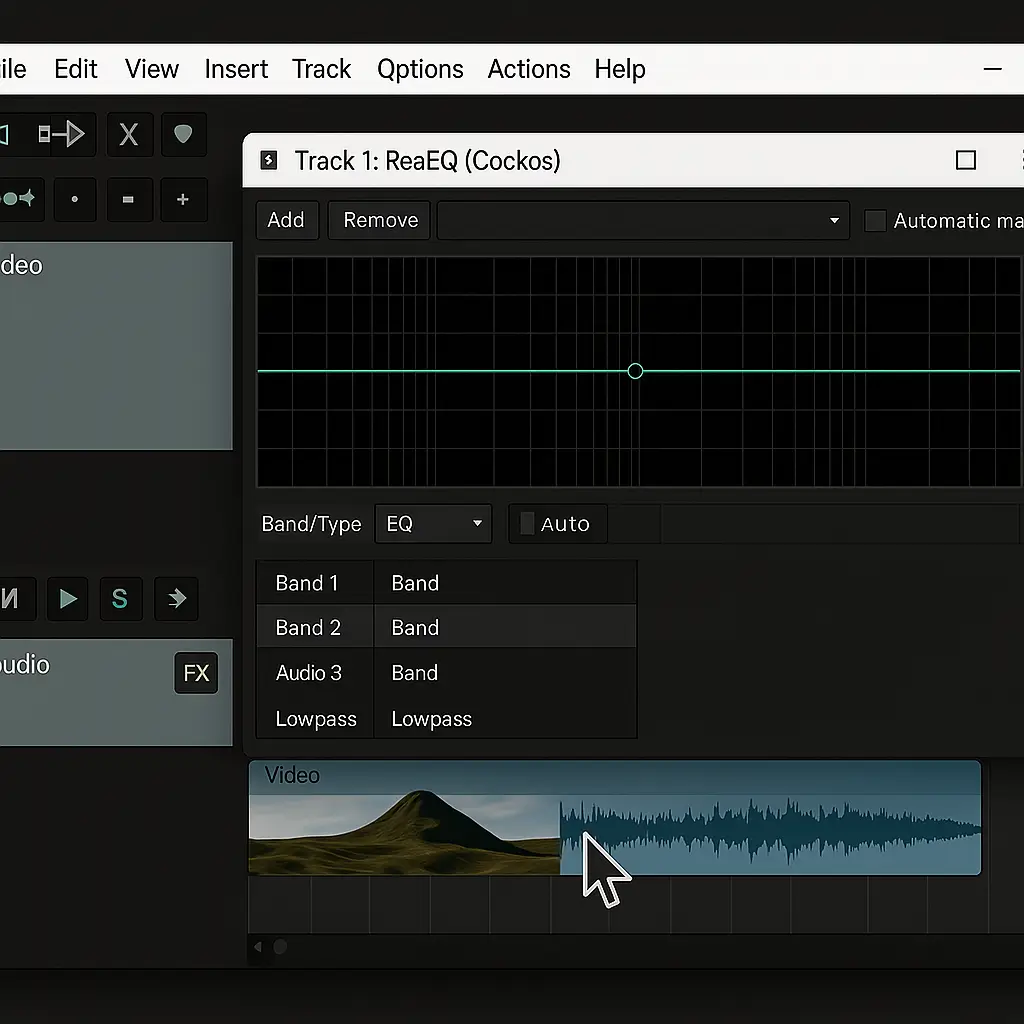
Add effects to audio: Click the FX button on any audio track and choose from Reaper's built-in effects (EQ, compression, reverb).
Step 7. Render — export the final video
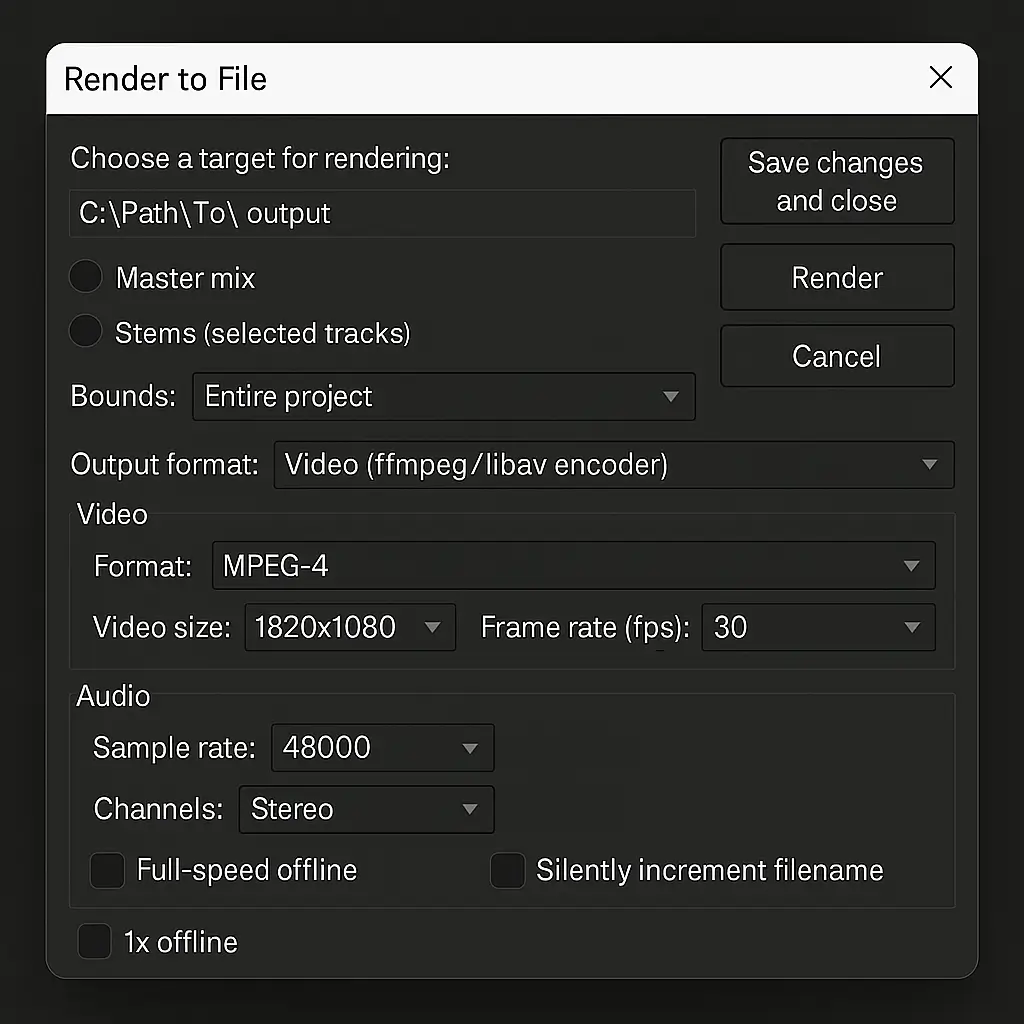
Go to File > Render. In the render dialog:
Output format: Choose MP4 (H.264) for the most compatible output.
Sample rate / bit depth: Match your project settings (typically 48 kHz / 24-bit for video).
Bounds: Set to "Entire project" or "Time selection" if you only want a portion.
Output file: Set the destination folder and filename.
Click Render. Reaper will export the video with your edited audio baked in.
Step 8. Save the project
After rendering, save the project file (Ctrl+S / Cmd+S). This preserves all your edits, track layouts, and effects settings for future revisions.
TL;DR
To add video in Reaper: install VLC → drag the MP4 (or any video file) into the timeline → add audio tracks below → sync → edit with split and trim tools → render to MP4 via File > Render.
Reaper is not a full-featured video editor, but for adding, syncing, and mixing audio to a video file, it's fast and reliable. If your project is audio-first — a podcast, a music video, a product demo with voiceover — Reaper handles it well without switching tools.
If you're producing music or audio content professionally, the next step after editing is showcasing your work. See the best Framer templates for music producers for portfolio-ready layouts, and audio player patterns that convert in 2026 for the player components that work on artist websites.
Curious about what your specific brand could sound like? If you are ready to turn your visual identity into a complete sensory experience, now is the moment to start the conversation about your sonic branding system.


