
The core goal of audio optimization on a website is to deliver sound clearly and quickly without negatively impacting the overall page load speed or user experience.
This means balancing quality with file size and ensuring smooth playback💡
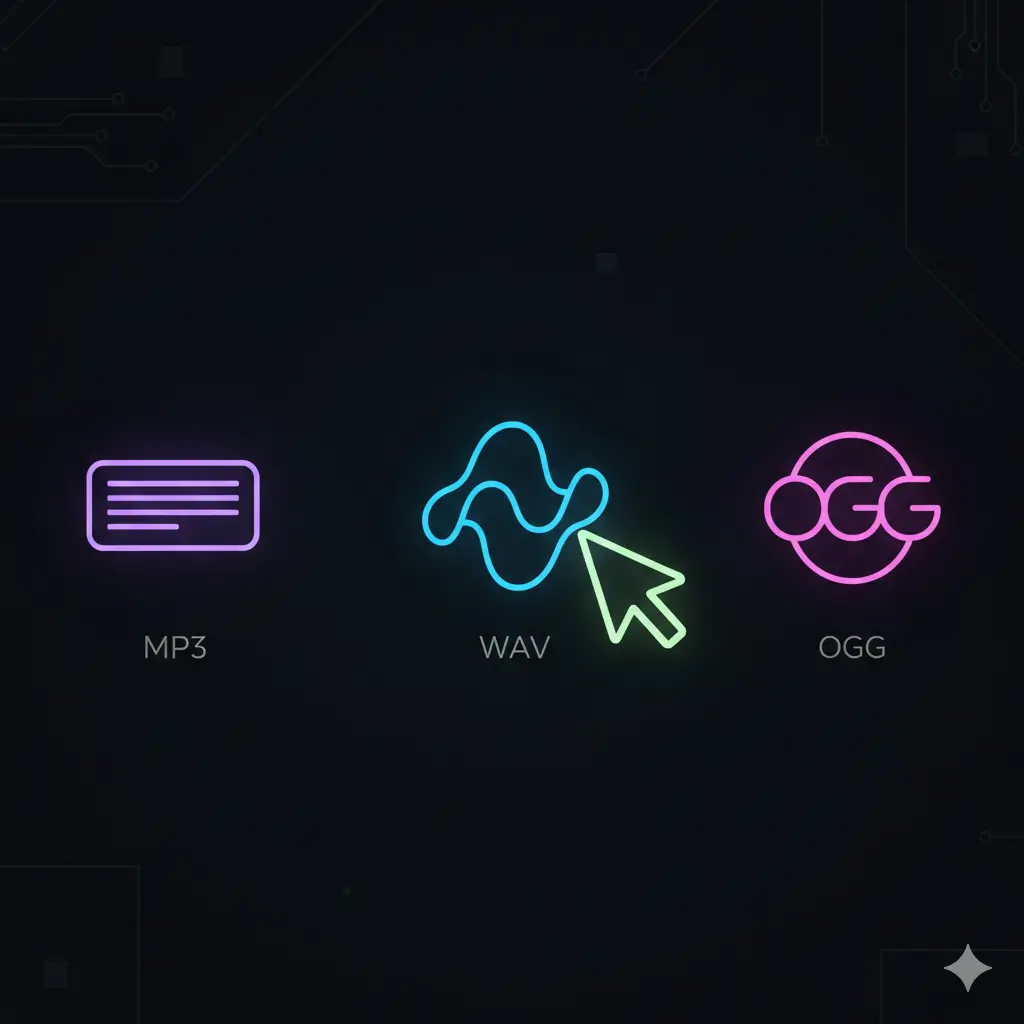
Use the Right Audio Formats
What it means:
Choosing codecs and container formats that offer a good compromise between compression efficiency, sound quality, and broad browser/device support.
Why it's important for performance:
File Size: Different formats compress audio with varying degrees of efficiency. Smaller files load faster and consume less bandwidth.
Compatibility: Using widely supported formats reduces the need for multiple fallbacks or the risk of audio not playing on certain devices/browsers.
Deeper Dive:
MP3: Universally supported, decent compression. Good as a baseline or fallback.
AAC (in .m4a or .aac container): Often better quality than MP3 at similar bitrates. Excellent support on modern browsers and Apple devices.
OGG (typically with Vorbis or Opus codecs):
Vorbis: Open-source, good quality, well-supported in most modern browsers (except older Safari versions, though modern Safari supports it).
Opus: Newer, highly efficient open-source codec. Excellent for both music and speech, especially at lower bitrates, and great for streaming/real-time. Rapidly gaining universal support.
WAV: Generally NOT recommended for direct web use. WAV files are uncompressed or use lossless compression, resulting in very large file sizes. They are excellent as source files before you compress them into web-friendly formats.
FLAC: Lossless, so high quality, but much larger files than lossy formats. Use only if offering a high-fidelity download option, not for general streaming/background audio.
Recommendation:
For broad compatibility and good performance, consider providing audio in multiple formats using the HTML5
<audio>tag with multiple<source>elements (e.g., Opus first, then AAC, then MP3 as a final fallback).
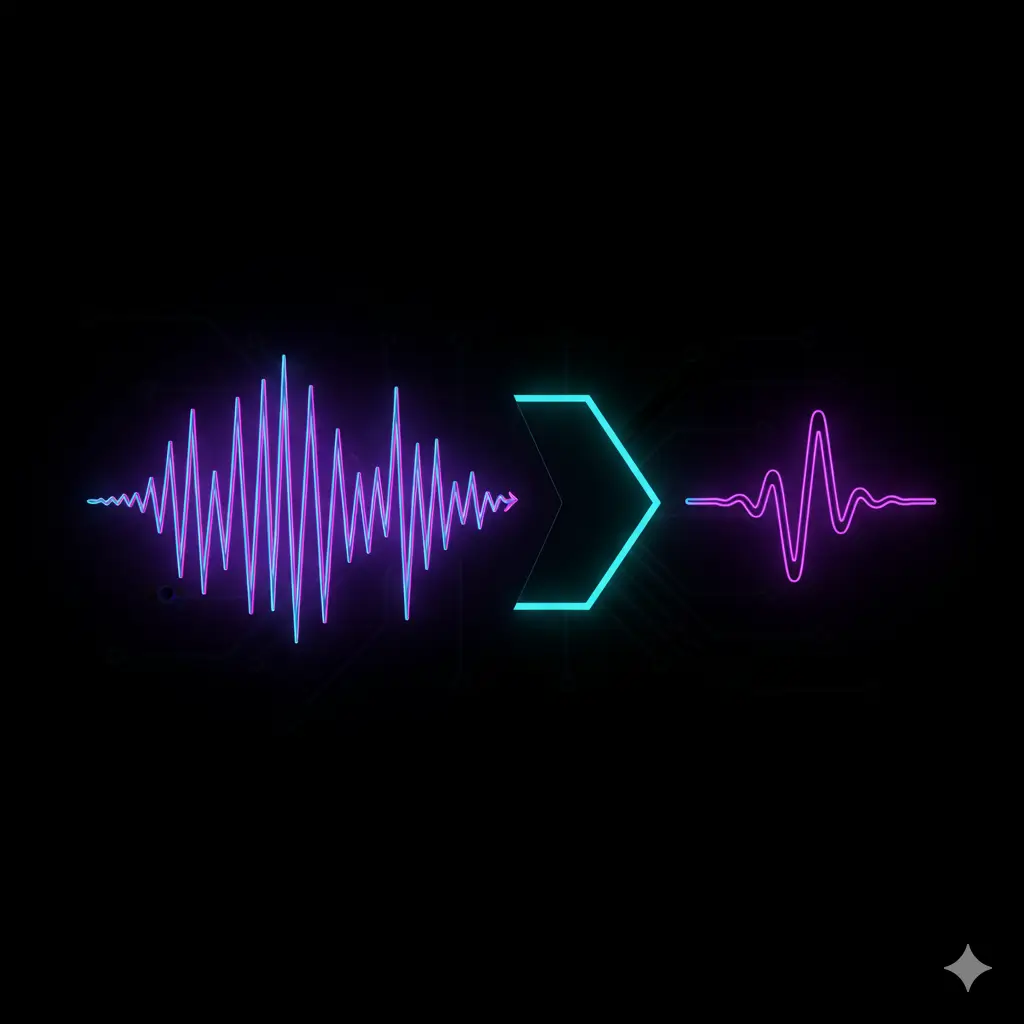
Compress Audio Files
What it means:
Reducing the digital size of an audio file, primarily by using lossy compression algorithms that discard some audio data deemed less perceptible to humans.
Why it's important for performance:
Faster Downloads: Smaller files transfer more quickly, leading to faster page loads and quicker audio start times.
Reduced Bandwidth: Saves bandwidth for both the user and the server.
Deeper Dive & Tools:
Lossy vs. Lossless: For web, lossy (MP3, AAC, Ogg Vorbis/Opus) is standard. Lossless (FLAC, WAV) preserves all data but results in large files.
Bitrate is Key: The main factor you'll adjust during compression (see point 4).
Tools:
Desktop Software: Audacity (free, open-source), Adobe Audition, ocenaudio.
Dedicated Converters (like Aiseesoft mentioned, or HandBrake for video with audio options): Offer batch processing and specific parameter controls.
Command-Line Tools: FFmpeg (extremely powerful and versatile for scripting).
Online Converters: Numerous free online tools (be cautious with sensitive content).
Process:
Start with a high-quality source file (e.g., WAV, FLAC). Experiment with different compression settings (bitrate, codec) to find the smallest file size that maintains acceptable audio quality for your specific content.
Implement HTML Audio Tags

What it means:
Using the native HTML <audio> element to embed and control audio on your website.
Why it's important for performance (and functionality):
Native Browser Support: Browsers are optimized to handle the <audio> tag efficiently.
Standardized Controls: Provides a familiar interface for users (if controls attribute is used).
JavaScript API: Offers extensive control over playback, volume, seeking, events (play, pause, ended, error, etc.), allowing for custom players and interactive experiences.
Deeper Dive:
Attributes:
src: Specifies the audio file URL.
controls: Displays default browser audio controls.
autoplay: (Use with extreme caution; browsers often block autoplay with sound unless user has interacted with the site). Consider muted autoplay for background video-like audio.
loop: Loops the audio.
muted: Starts the audio muted.
preload: (See point 5).
JavaScript Interaction:
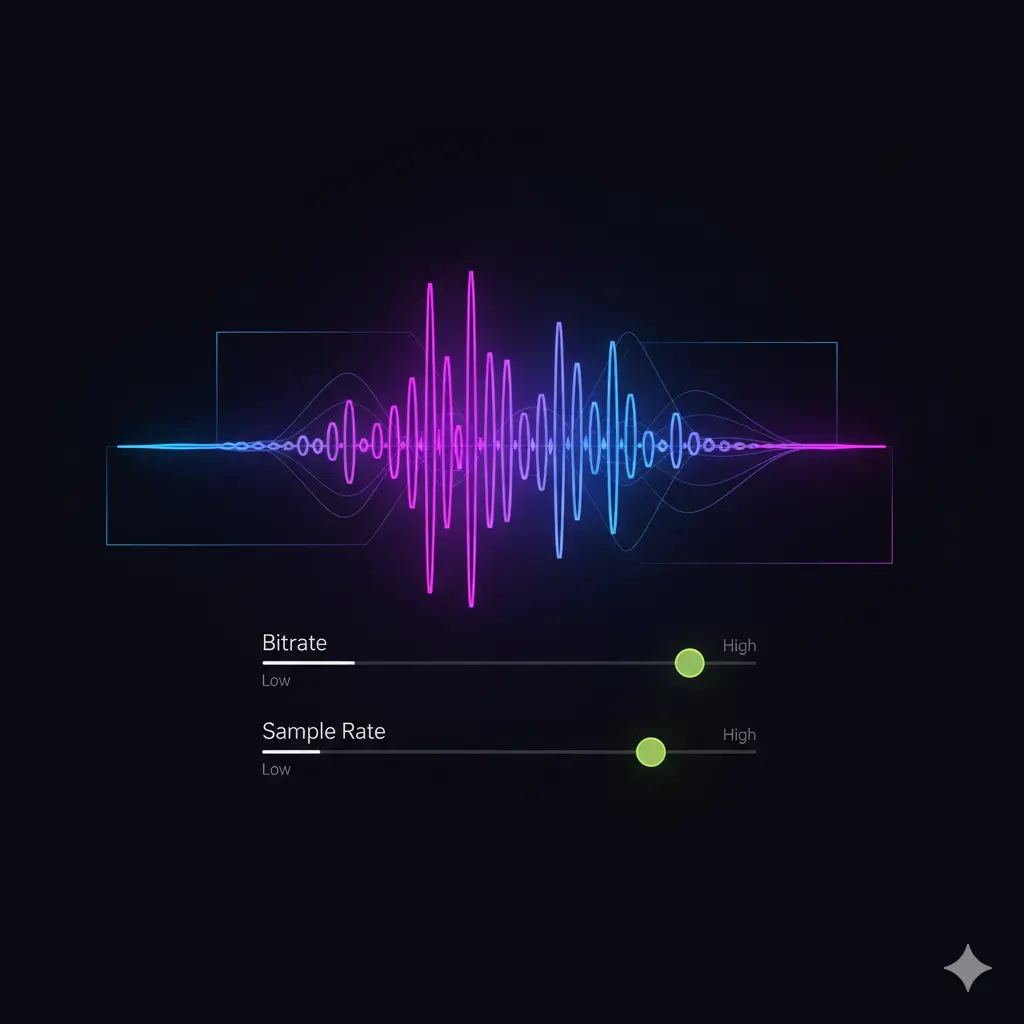
Optimize Bitrate and Sample Rate
What it means:
Fine-tuning two key parameters during audio encoding to balance quality and file size.
Bitrate: The amount of data (bits) used to represent one second of audio. Higher bitrate = more data = better quality = larger file. Measured in kbps (kilobits per second).
Sample Rate: The number of samples of audio carried per second, measured in Hz or kHz. It determines the maximum frequency that can be reproduced. CD quality is 44.1 kHz.
Why it's important for performance:
Directly impacts file size. Lowering these (judiciously) reduces file size.
Deeper Dive & Recommendations:
Bitrate:
Speech/Podcasts: 64-96 kbps (mono) or 96-128 kbps (stereo) can be sufficient.
Background Music: 128-192 kbps (stereo) is often a good balance.
High-Quality Music: 192-320 kbps (stereo). For web, rarely need to go above 256 kbps for perceptible gains with good codecs like Opus or AAC.
Sample Rate:
44.1 kHz (CD Quality): Standard for music.
48 kHz: Common in video and professional audio.
For web, 44.1 kHz is usually fine for music. For speech-only content, you could go lower (e.g., 22.05 kHz or 32 kHz) to save space, but test quality carefully. Modern codecs are efficient enough that aggressive sample rate reduction is less necessary.
Channels: Use mono if stereo isn't necessary (e.g., voiceovers, some sound effects). This halves the data for that audio.
Tip:
Always test! Listen on different devices/headphones to ensure quality is acceptable after reducing bitrate/sample rate.
Preload Audio Files
What it means:
Instructing the browser on how and when to start downloading an audio file, even before the user explicitly hits "play."
Why it's important for performance:
Reduced Latency: If audio is preloaded, it can start playing almost instantly when triggered, providing a smoother, more responsive experience.
Avoids Playback Stuttering: Especially useful for sounds that need to be precisely timed with animations or user interactions.
Deeper Dive (preload attribute values for <audio> tag):
none: The browser should not preload the audio. It will only start downloading when play() is called. Best for non-critical audio or when conserving initial bandwidth is paramount.
metadata: The browser should only preload metadata (e.g., duration, dimensions). Very little bandwidth used. Good if you need to display duration before playback.
auto: The browser can preload the entire audio file if it chooses. Offers the fastest start time but uses the most initial bandwidth.
Considerations:
Don't preload everything if you have many audio files on a page, as it can slow down initial page load.
Prioritize preloading for critical audio cues or audio that needs to play immediately upon user interaction.
For Web Audio API, you typically "preload" by fetching the audio file (fetch) and decoding it (AudioContext.decodeAudioData) before it's needed.
Use Audio Sprites

What it means:
Combining multiple short audio clips (like UI sound effects, game sounds) into a single audio file. You then use JavaScript to play specific segments of that file by defining start times and durations for each "sprite."
Why it's important for performance:
Reduces HTTP Requests: Browsers have a limit on concurrent HTTP requests to a single domain. Loading one large sprite sheet is faster than loading many tiny individual sound files, especially on high-latency connections.
Improved Caching: One file is easier for the browser to cache.
Deeper Dive & Implementation:
Requires JavaScript and typically the Web Audio API for precise playback control of segments.
Load the entire sprite sheet into an AudioBuffer.
When a specific sound needs to play, create an AudioBufferSourceNode, set its buffer to the sprite sheet, and use the start(when, offset, duration) method to play only the desired portion.
Libraries: Libraries like Howler.js can simplify audio sprite management.
Best for:
Websites or web apps with many short, frequently used sound effects (e.g., games, interactive UIs).
Test Across Devices and Browsers

What it means:
Manually and/or automatically testing your website's audio functionality and performance on a variety of common browsers (Chrome, Firefox, Safari, Edge), operating systems (Windows, macOS, Android, iOS), and device types (desktop, mobile, tablet).
Why it's important for performance (and overall quality):
Inconsistent Codec Support: Older browsers/devices may not support newer formats like Opus.
Performance Variations: Audio processing and network speeds can differ significantly.
Autoplay Policies: Browsers have varying (and evolving) rules about autoplaying audio.
Bugs/Glitches: Specific browser versions or OS combinations might have unique audio playback quirks.
What to Test:
Does the audio play?
Is there excessive delay before playback starts?
Is the quality acceptable?
Do controls (if any) work as expected?
Are there any errors in the browser console?
Tools:
Browser developer tools (Network tab, Console), real devices, and cross-browser testing platforms (e.g., BrowserStack, Sauce Labs).
TL;DR
To optimize your website's audio, choose efficient formats (like Opus, AAC, MP3 with fallbacks), compress files to balance quality and size by adjusting bitrate/sample rate, use HTML audio tags correctly, preload critical sounds, consider audio sprites for many small cues, and always test thoroughly on diverse platforms.
This ensures your audio enhances, rather than hinders, the user experience by being quick to load and smooth to play.
Frequently asked questions
What is the best audio format for the web in 2026?
Opus offers the best compression-to-quality ratio and now has near-universal browser support. Provide it first, with AAC and MP3 as fallbacks inside a single <audio> tag, so every device gets the smallest file it can play.
What bitrate should I use for website audio?
128–192 kbps stereo is the sweet spot for background music; 64–96 kbps mono is enough for speech. Above 256 kbps you rarely hear a difference on the web with modern codecs like Opus or AAC.
Does audio slow down my website?
It can. Large uncompressed files block bandwidth and delay playback, which hurts perceived load speed. Compress to a web codec, set preload to "metadata" or "none" for non-critical sounds, and stream catalogs rather than preloading them.
Should I use WAV files on a website?
No. WAV is uncompressed and far too heavy for delivery. Keep WAV as your source file, then export a compressed Opus, AAC, or MP3 version for the live site.
What does the preload attribute do?
It tells the browser how much audio to fetch before play. Use "none" or "metadata" for non-critical audio to save bandwidth, and "auto" only for sounds that must fire instantly on interaction.
Once your audio loads fast and plays smoothly, the next two layers are accessibility and spatial design. See how to create an accessible audio experience for all users for captions, ARIA controls, and screen-reader patterns, and how spatial audio works for websites for immersive 3D audio that goes beyond basic stereo.
Curious about what your specific brand could sound like? If you are ready to turn your visual identity into a complete sensory experience, now is the moment to start the conversation about your sonic branding system.


